How to Lay a Garden Path
A garden path is so much more than just a pretty sight. It leads the way to tool sheds, gives guests a guided tour of horticultural accomplishments and keeps wandering feet off wet grass.
Simply put, paths are the hallmark of a cared-for outdoor space – and you’ll definitely want one in your garden come springtime. So, what does it take to add a stylish walkway by yourself? You may be surprised to learn it’s not too fiddly once you know how.
To put you on the right path, we’ve listed three popular techniques for creating a garden track of your very own.
Continue reading below to learn how to lay a garden path like a pro.
Using paving slabs for a garden path
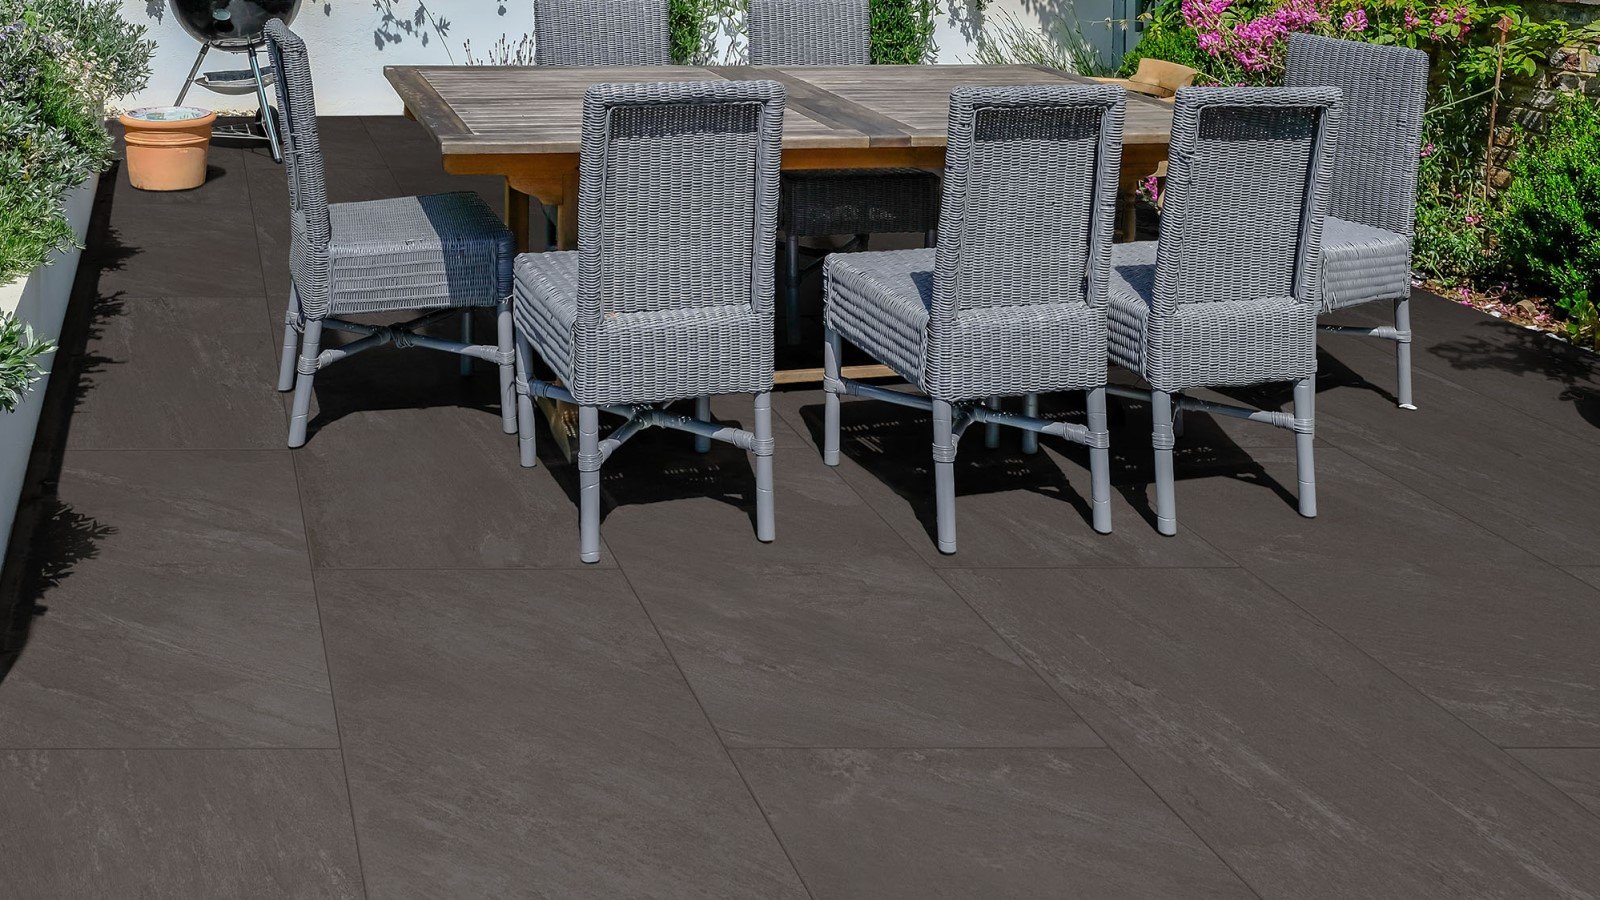
From porcelain paving to natural stone paving, slab pavers are a durable, hardy material which suits heavy traffic areas. If you need to resize your paving slabs, then take a look at our step-by-step guide on how to cut paving slabs.
What you need to lay a garden path with paving slabs:
- Paving slabs
- Wooden stakes
- String
- A measuring tape
- A spade
- MOT type 1 sub-base
- A rake
- A tamper
- Sharp sand
- Cement
- A pointing trowel
- A 5mm rubber tile spacer
- A rubber mallet
- A spirit level
- Jointing compound (available in natural, grey or black)
- A stiff-bristled broom
How to lay a garden path with paving slabs:
- Use wooden stakes and string to mark out an outline of the path.
- Measure the thickness of your paving slab, then add 150mm. Dig a channel that is this depth.
- Fill the channel with 50mm of MOT type 1 sub-base, rake it so that it’s level and then compact with the tamper.
- Add another 50mm of MOT type 1 sub-base and repeat the process, so you have a 100mm layer of sub-base.
- Next, mix four parts sharp sand to one part cement according to our mixing mortar instructions.
- Use a pointing trowel to lay the cement mix to a depth of 50mm. Only use enough for one slab so it doesn’t dry out.
- Place your first paving slabs in the channel, using rubber spacers to make sure that they are evenly distributed.
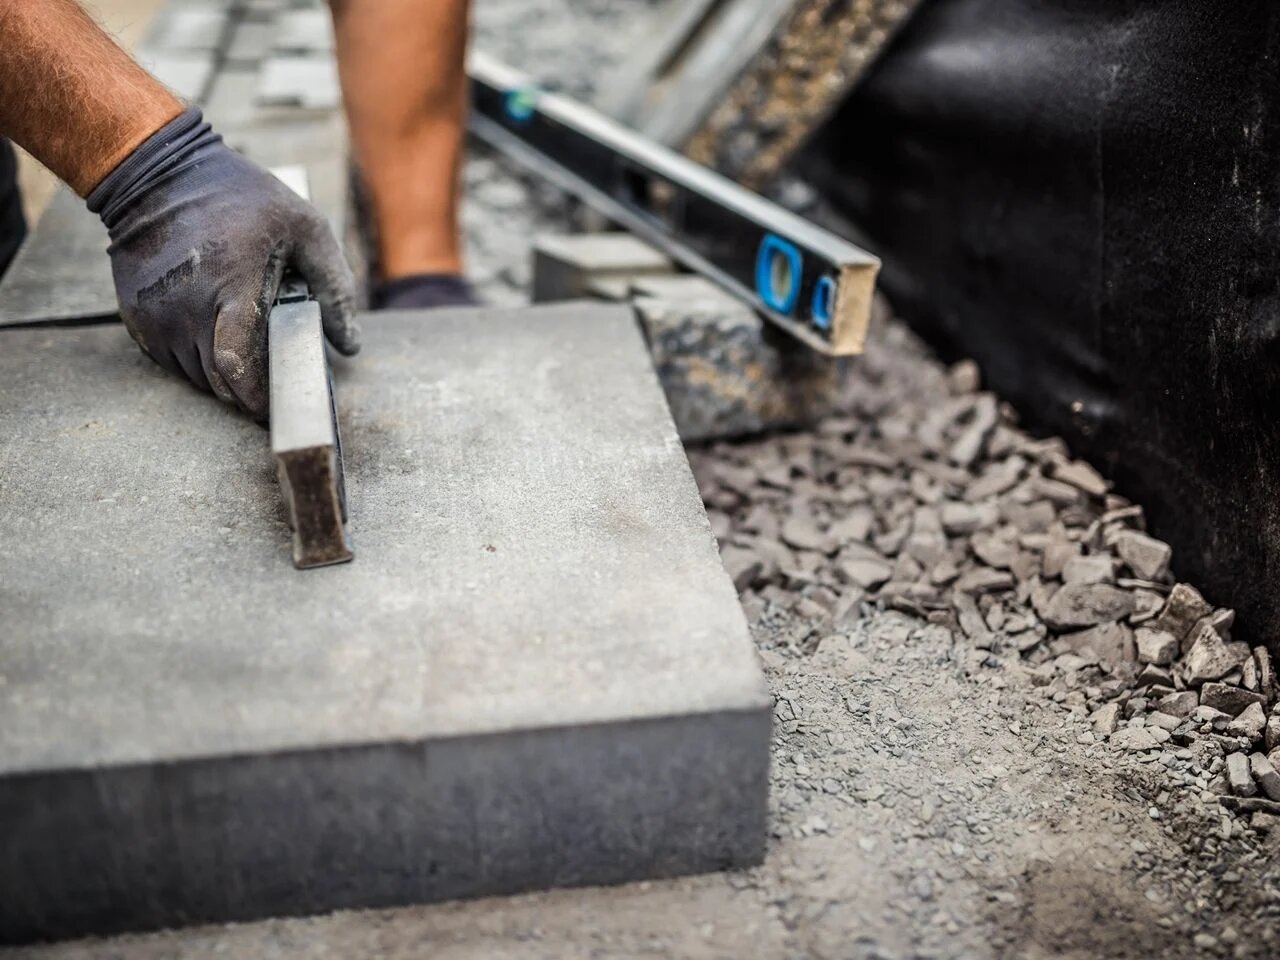
- Use a rubber mallet to adjust the slabs until they are perfectly level - check with a spirit level to be sure.
- Once all of the slabs are in place, go over them with a tamper to press them securely into the aggregate.
- Use your trowel to fill the gaps between the slabs with mortar or brush in a jointing compound.
- Brush away any excess jointing compound with a broom and, hey presto, your slab garden path is complete.
Top tip: Natural stone slabs are often thinner when compared with manufactured slabs, and they usually vary in thickness, too. Take this into account when measuring your channels.
Top tip: If you are using porcelain slabs, you will need to use a slurry primer to create an adhesive ‘bond bridge’ between the mortar and your slabs. Apply it to the slab according to the instructions on the packet before you lay your slabs.
Using block paving for your garden path
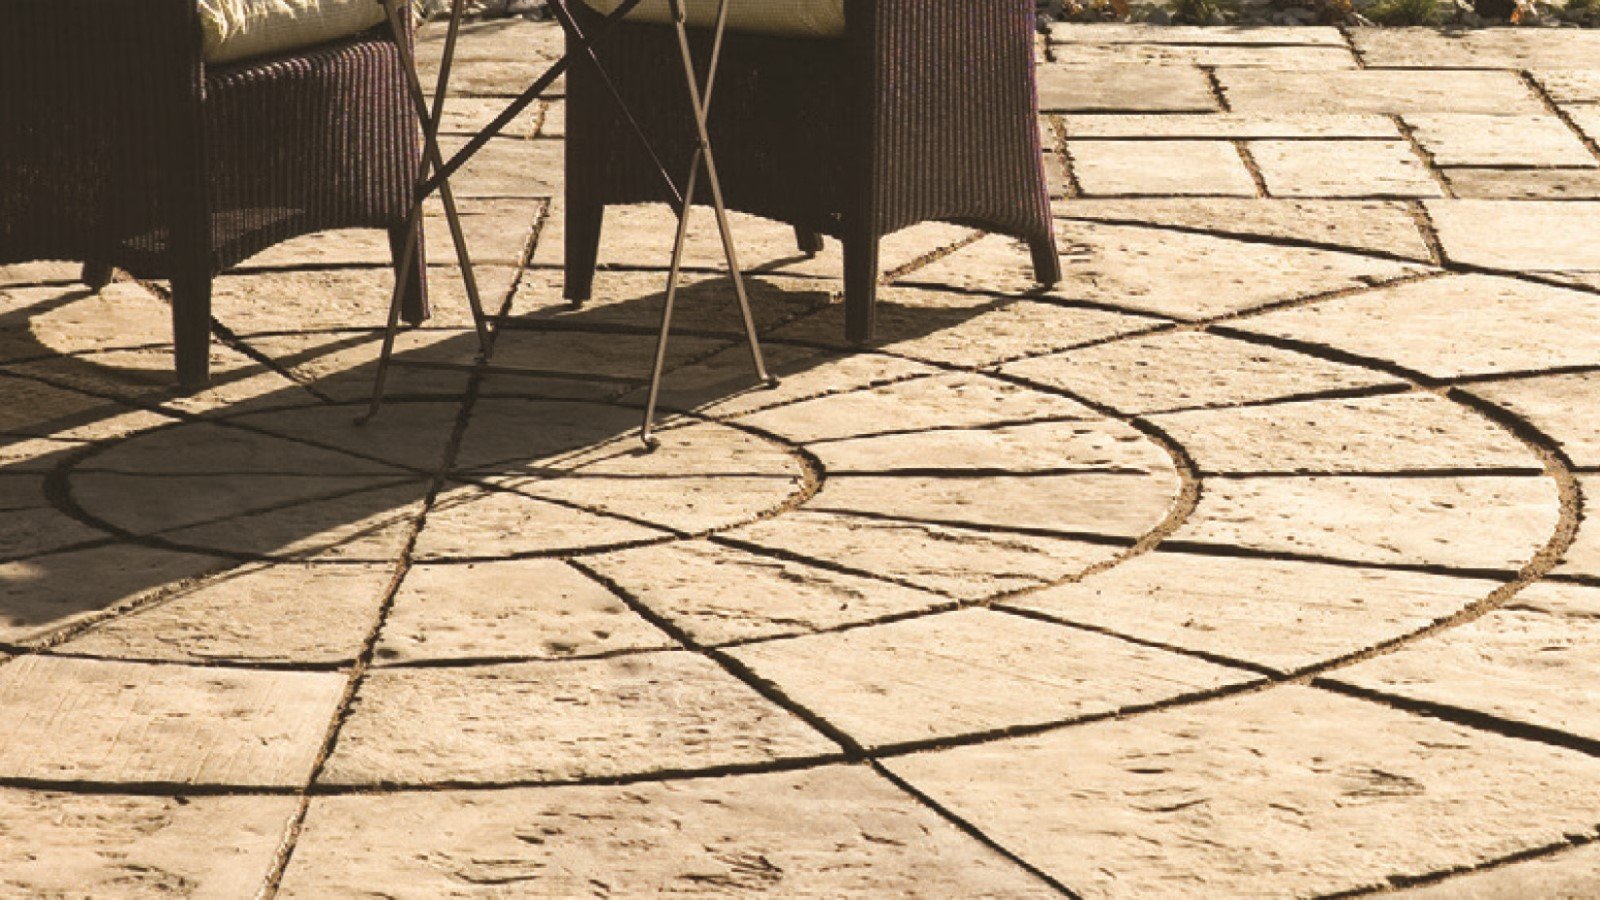
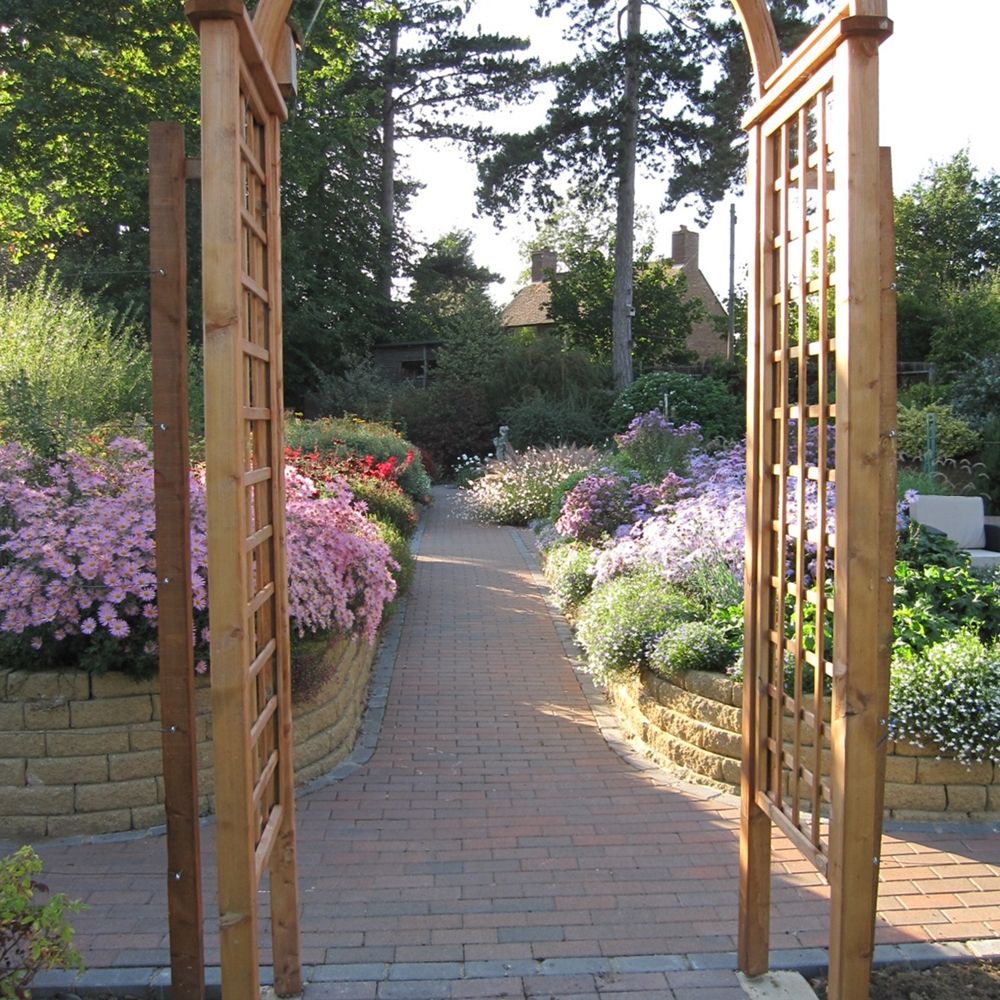
With a kaleidoscope of colour options, a block paving path is perfect for those partial to an artistic flourish. Whether you create an intricate mosaic of reds and greens or opt for a country-cottage cobbled look, you’ll certainly get style points with this garden path design.
What you need to lay a block paving path:
- Block paving
- String
- Wooden stakes
- Spade
- A measuring tape
- MOT type 1 sub-base
- A rake
- A tamper
- Sharp sand
- A hose pipe or watering can
- A piece of timber (this should be roughly as wide as your path)
- A spirit level
- Cement
- A pointing trowel
- A rubber mallet
- Kiln-dried sand
- A stiff-bristled broom
If you are using edge restraints (such as driveway edging or block kerbs), you will also need:
- Cement
- A cement mixer (a large plastic bucket and an electric drill with a paddle mixer attachment will do if you are mixing smaller quantities.)
- A trowel
How to lay a block paving path:
- Use string and wooden stakes to mark out the boundary where you want your block paving slabs to go. Take any edge restraints that you are using into account.
- Dig a channel which is 150mm deep, plus the depth of your block paving within the wooden stakes.
- Lay a 50mm layer of MOT type 1 sub-base, rake it and compact it with a tamper. Then, lay, rake and compact another 50mm layer on top.
- Use sharp sand to create a 50mm layer and lightly dampen it with a hose or watering can.
- Use a piece of timber to tamp it down, checking it is flat with your spirit level.
- If you are using driveway edging or block kerbs, put them in place before you start laying down the blocks.
- To make your mortar, mix four parts sand and one part cement, then use a trowel to lay enough mortar to ‘bed’ the edge restraints. You want your mortar to form a haunch halfway up the side of the blocks.
- Now, you can lay your blocks and tap them a few times with a rubber mallet to press them into the sand, keeping them level with each other.
- Once the blocks are in position, cover them with a layer of kiln-dried sand. Brush the sand into the cracks between the blocks until all the gaps are filled.
- Use a tamper to compact the blocks and keep the sand in place.
Using gravel for your garden path
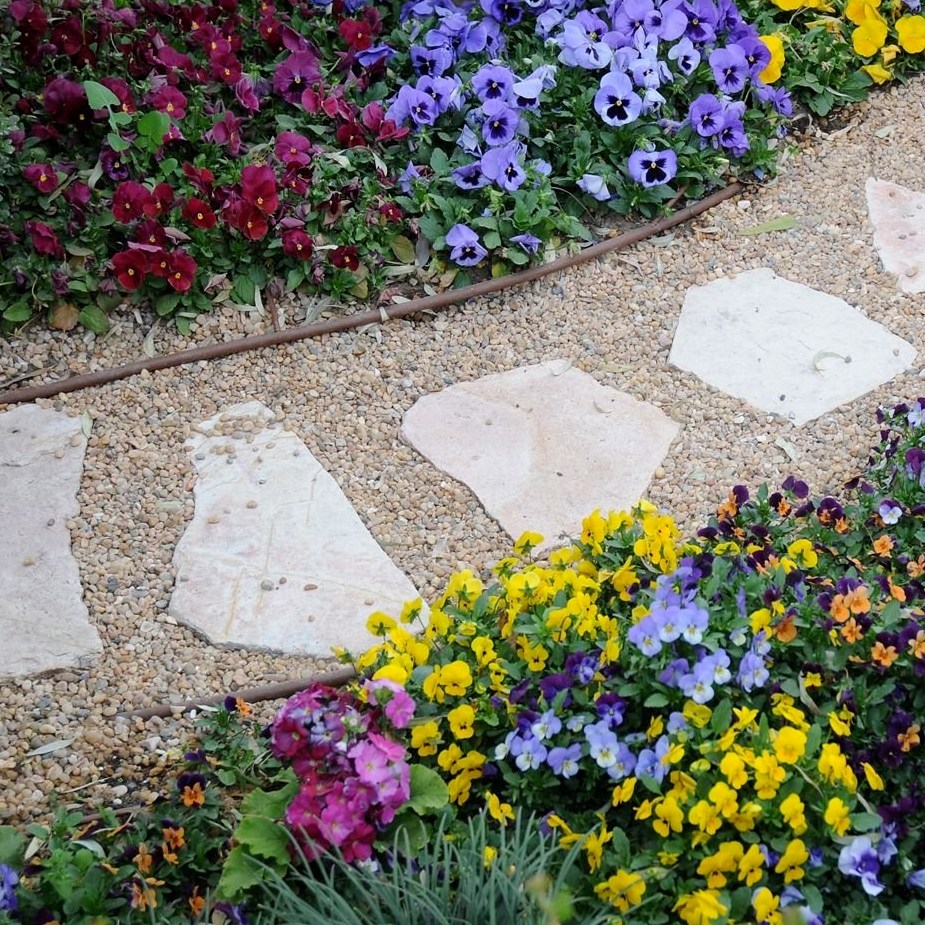
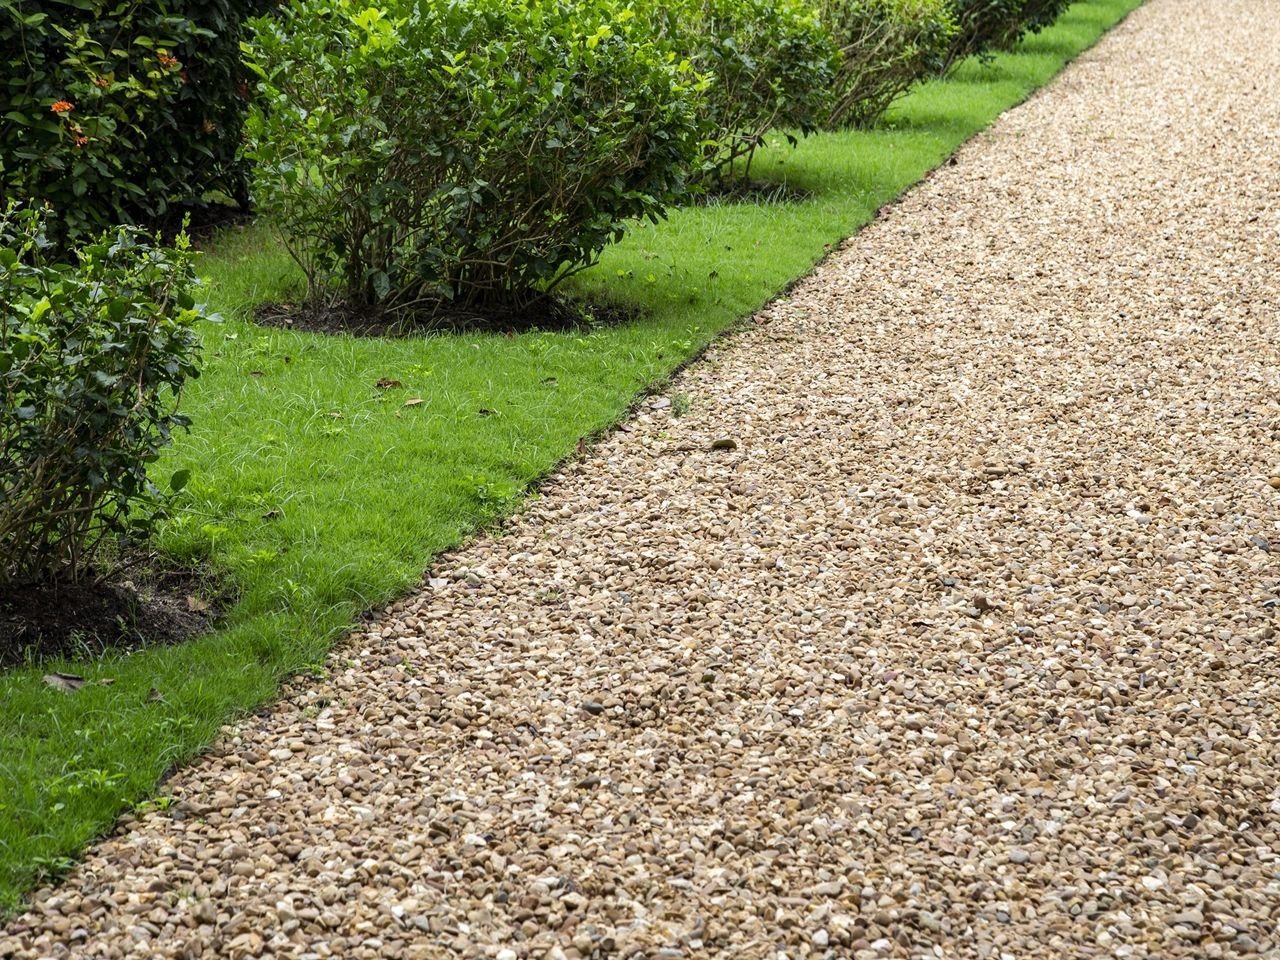
Whether you’re using pea gravel or crushed stone, gravel is a simple, fuss-free option for laying garden paths. In no time at all, you can be enjoying that oh-so satisfying crunch underfoot as you wander your winding walkway.
What you need to lay a gravel path:
- Gravel
- Wooden stakes
- String
- A spade
- A measuring tape
- Treated lumber boards (enough to line the path on both sides)
- A hammer
- Treated lumber pegs (one per meter of board)
- Exterior-grade screws
- A screwdriver
- A spirit level
- Landscape fabric
- MOT type 1 sub-base
- A rake
- A tamper
How to lay a gravel path:
- First, you need to mark the outline of the path and create a trench. You can do this by putting wooden stakes in the ground and linking them together with string.
- Use a spade to dig a 100mm deep channel within the lines of string.
- Place the treated lumber boards at the sides of the trench. Then, to hold them in place, hammer one lumber peg into every one metre of board.
- Screw the boards and pegs together with exterior-grade screws. If they are still loose, add more pegs. Use your spirit level to keep the boards level.
- Lay a sheet of landscape fabric at the bottom of the trench.
- Add a 50mm layer of sub-base to the trench and rake it until it is level.
- Use a tamper to flatten the sub-base.
- Add a 25mm layer of gravel to the trench and rake it until it’s level. Job done!
Laying a garden path using carpet stones
A smart way to lay paving stones, carpet stones come readily attached on a flexible mat, so all you need to do is move your stones and cut to shape. You will want to use this method if you are working with awkward or narrow path shapes.
What you will need to lay a path with carpet stones:
- Carpet stones
- Wooden stakes
- String
- Spade
- A measuring tape
- Spirit level
- Rake
- Roller or tamper
- Sub-base (ballast is usually sufficient for a pathway)
- Trowel
- Wheelbarrow (for your sand mix)
- Sharp sand
- Cement mixer
- Cement
- Scissors
- Rubber mallet
- A stiff-bristled broom
How to lay a path with carpet stones:
- Mark the pathway with wooden stakes and link them together with string.
- Dig to a depth of 170mm to 200mm. Set the levels for the finished area using the stakes. Use the spirit level to adjust the angle of the path so that it is very slightly uneven by one or two degrees (this helps it drain) and ensure that the finished level is at least 150mm below any damp-proof course.
- Rake the excavated area level.
- Compact it with a garden roller or a tamper.
- Lay your sub-base to a depth of 100mm and compact it.
- Next, mix six parts sharp sand and one part cement.
- Use the trowel to cover the area of the first carpet stone mat that you are going to lay, allowing enough room when compacted for the carpet stones.
- Lay the carpet stones onto the bed, ensuring the joints are evenly spaced, cutting the mats to size where required - this can be done with a good pair of scissors.
- Use a rubber mallet to ensure the stones are well bedded in.
- After 24 hours, brush a dry mix of 4 parts sharp sand to 1 part cement into the joints.
Top tip: We recommend that the mix is as dry as possible to ensure the surface of the product is not stained.
If you have any questions about laying a garden path call us on 0800 032 6306 between 8am and 8pm, seven days a week start a live chat with us.


